Tests
Par Pete-motitas


Mis à jour le 25/04/2022 à 19:42.
Introduction
Another day, while repairing my Nikon PB-6 bellows, I found the user manual in pdf. While browsing it, I realized that it was possible to reverse a lens just by flipping the belows front element. This avoids the purchase of reversing rings, that aren't cheap or easy to find either.
Reversing a lens allows to dramatically increase its magnification factor. This is especially true with short focal lengths; with a 20mm it is possible to reach an 11:1 magnification ratio.
I also want to address the use bellows with DSLRs. It has happened to me a few times that people told me that it is impossible to use them on DSLR.
Use with a DSLR
I faced the problem the first time I used my bellows, because the positioning of the device requires rotating it on the bayonet, but the outgrowth of the base of the bellows blocks the device.
To solve this problem with normal size reflexes, you can rotate the bayonet by activating the clamp right next to it.

You can see here the camera mounting index marked with a small red line. In the high position, it does not allow the device to be fixed to the bellows.

By pressing the clamp located to the right of the bayonet, you can rotate the bayonet, which will make it easier to adapt your DSLR.

Here we see the mounting index positioned on the left of the bellows.

The device is placed in portrait position. I was able to set easily my Fujifilm S5 Pro (that has the same body as the D200) and my D700.

By pressing the clamp, you can rotate the device in the other direction to take pictures in landscape mode.
For larger devices - professional DSLRs for example - it is necessary to use a macro extension ring.

You can see here that the bottom of the body (here a D3s) hangs on the bellows rail.

You must therefore use an extension ring to move the body back from the rail. A 14mm PK12 is sufficient, but of course it is possible to use longer ones.

You can now easily place the body.

Unfortunately it is impossible to advance it on the rail. This will not allow you to approach your subject with this type of device.
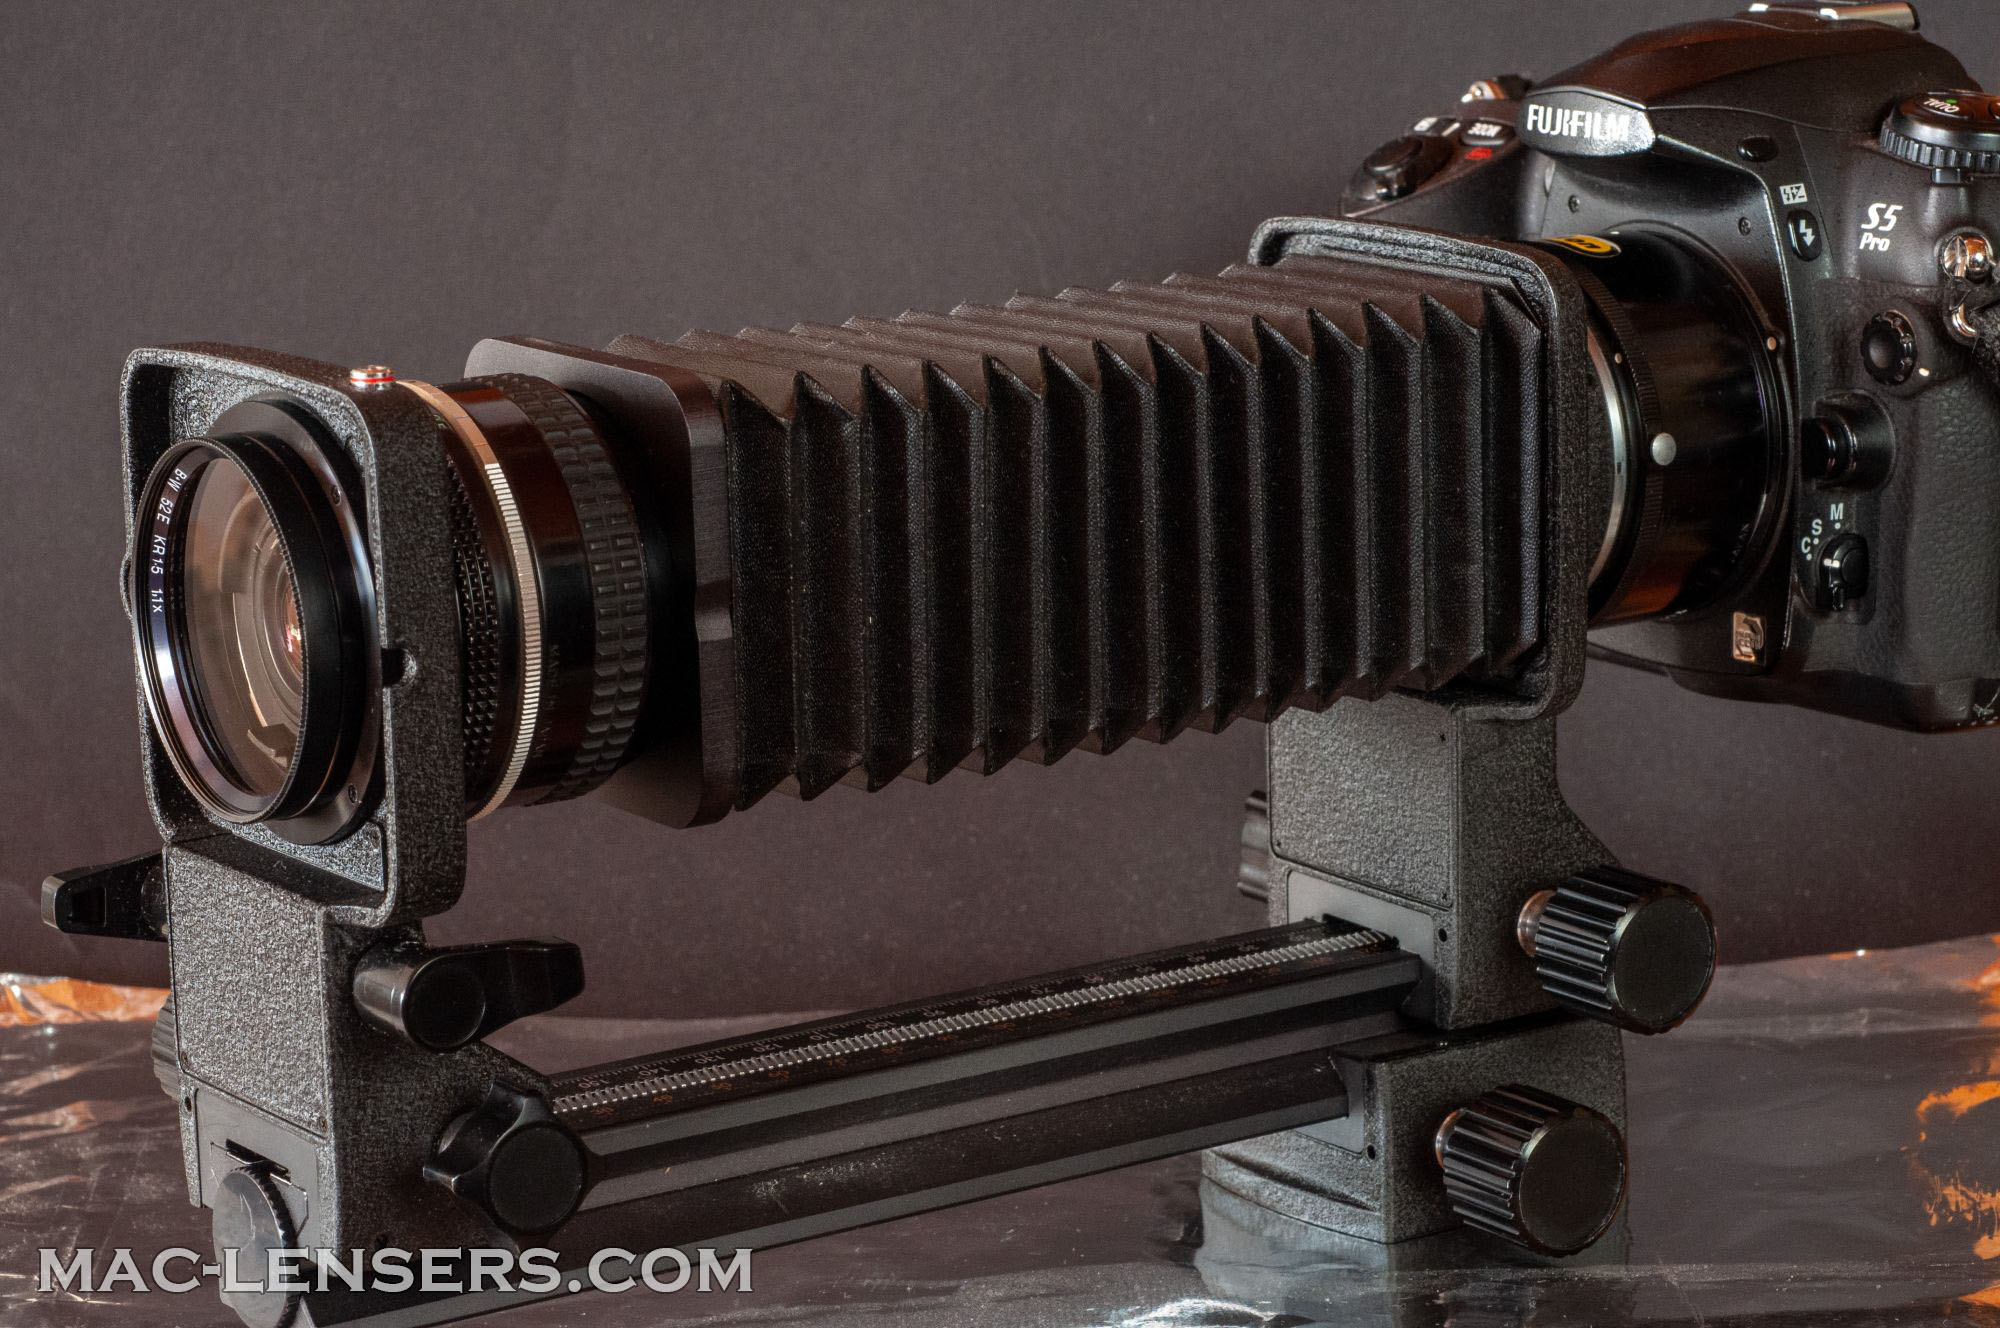
Reverse lens
To use a lens inverted, here's how to position it.

First, you have to separate the belows from the front block, then remove the large plastic screw from the front, in order to be able to remove the front block from the rail.

Then simply reposition the block in the other direction on the rail.

In order to protect the rear lens of the objective, it is possible to install a 52mm filter thanks to the thread at the rear of the bayonet.

Finally, install the bellows back by tightening the screw on the barrel. Ideally with the focusing ring of the lens set at infinity.

This system offers the equivalence of the Nikon BR-2A ring, which allows to reverse a 52mm lens, and the BR-6 ring, which allows the synchronization of the diaphragm with a soft shutter release trigger and the possibility to add a filter to protect the rear lens, without any extra cost.
Comparisons
I will show you through 3 pictures i took with my D700 and my 35mm f/2.8 Ai (the 6 elements version) the magnification you can get easily with a bellows. To give you an idea of the scale, the box measures 12cm (4,7 inches) in length.

So you can see a marvelous picture of my screwdrivers. I took it at the minimal focus length of this lens, so approximately 30cm.

Still with my D700, the 35mm at f/8 and the same box of screwdrivers, i used this time the PB-6 between the lens and the DSLR. We can see that the magnification factor already exceeds the 1:1 ratio.

Reversing the lens on the bellows increases the magnification ratio even further. With a 20mm lens, it is possible to reach an even bigger ratio.
There you go ! You can get a huge leap on magnification ratio without additional accessories. 😊