Repairs
Por Pete-motitas


Introduction
Lately I came across a really cheap used PB-6 bellows that looked in great condition. That's why I ordered it via a website and received it the next day.
It was beautiful and I was really happy to receive it, but then I realized that the levers on the sides were useless. I had owned this bellows before but sold it for a Nikon PB-4 (considered Nikon's best bellows, especially due to its all-metal construction and tilt and shift function) and hadn't noticed particular problem.
Of course the bellows can be used without this mechanism being functional, but it will not be possible to use it other than at wide aperture, what is not optimal for macro photography.
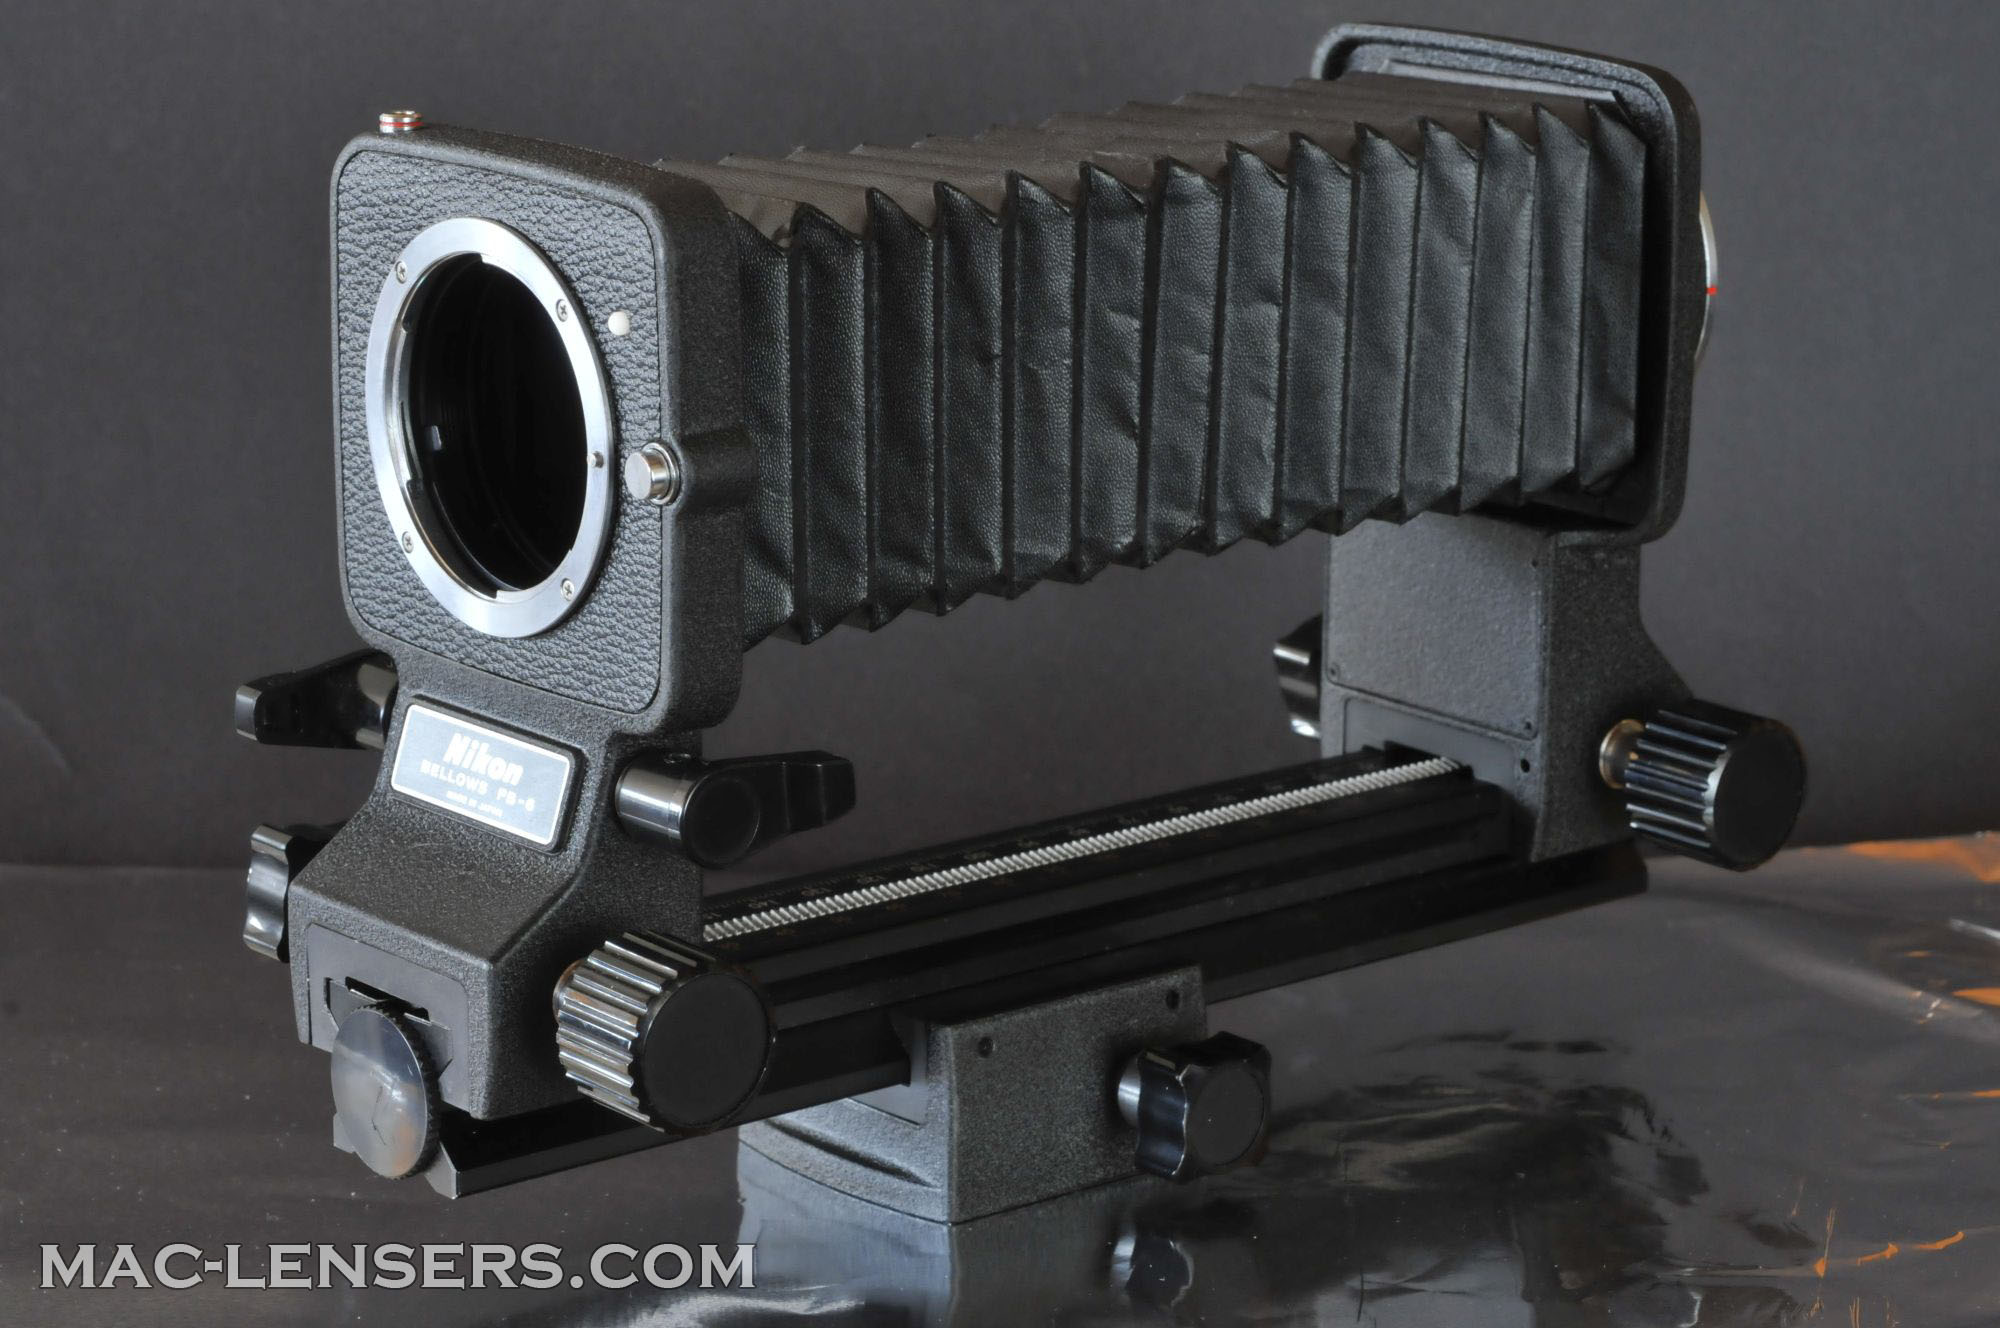
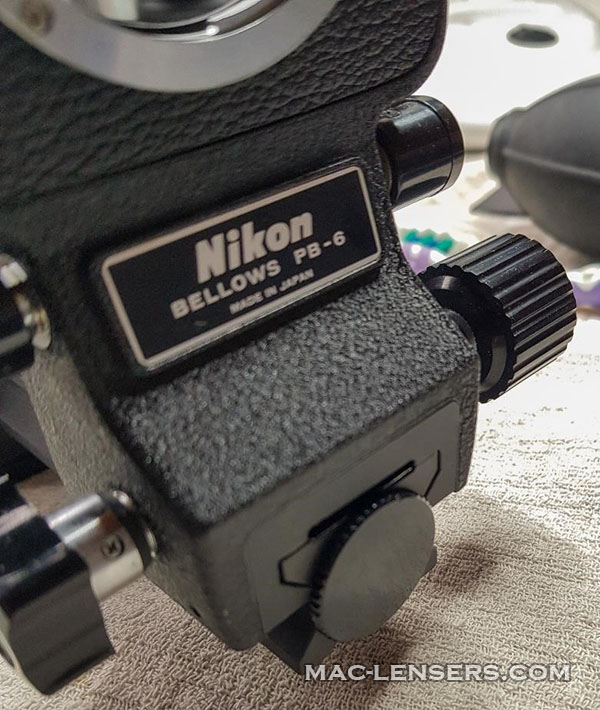
Presentation
The Nikon PB-6 bellows is the sixth and final macro bellows developed by Nikon. It was produced between 1983 and 2016.
In addition to its exemplary quality construction, it offers many advantages that are not necessarily found on its predecessors, namely:
- A distance rail graduated in millimeters,
- An automatic closing mechanism of the diaphragm thanks to a trigger,
- The addition of numerous accessories, in particular for the reproduction of slides,
- The possibility of reversing F-mount lenses with a filter diameter of 52mm without any additional accessories – which makes it possible to magnify up to 11 times with a 20mm.
In short, it only lacks the ability to tilt and shift, which the PB-4 has.
Repair
All of this repair is to be carried out on the front part of the gaiter.
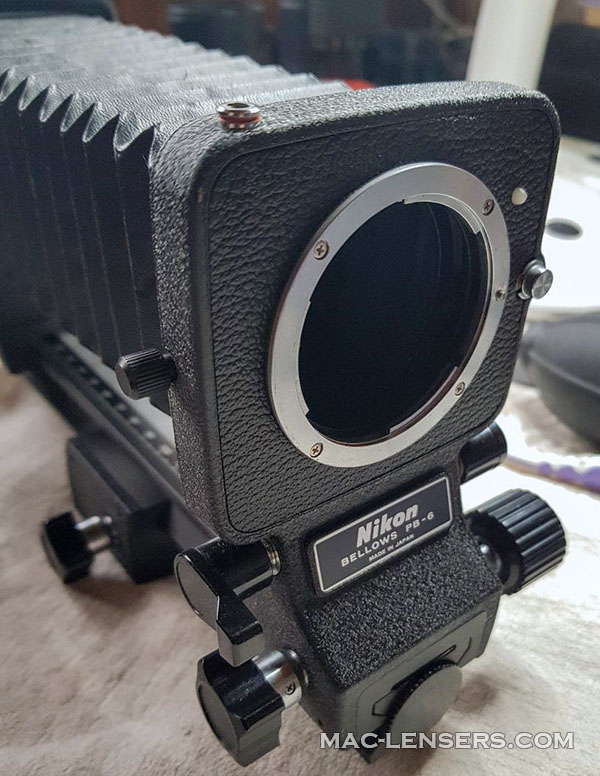
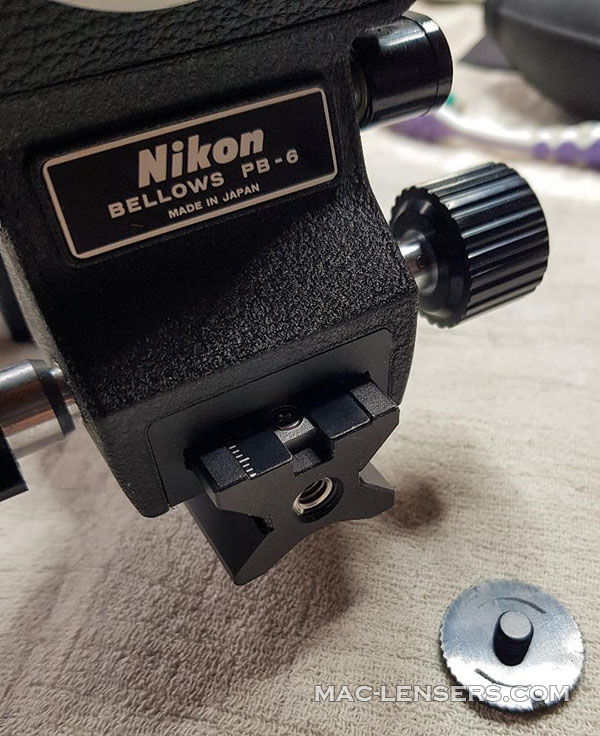
First, you have to detach the bellows from the lens plate, by turning the small clamping screw.
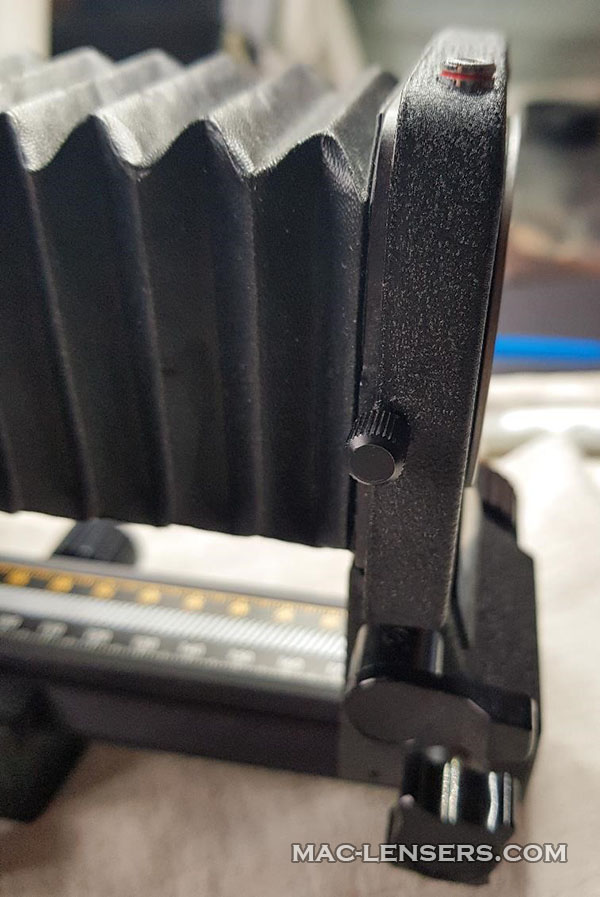
Once done, it is possible to access the mechanism that interests us. But for convenience, it is best to remove it completely from the rail.
To do this, simply remove the large plastic screw located at the front of this rail, by turning it by hand.
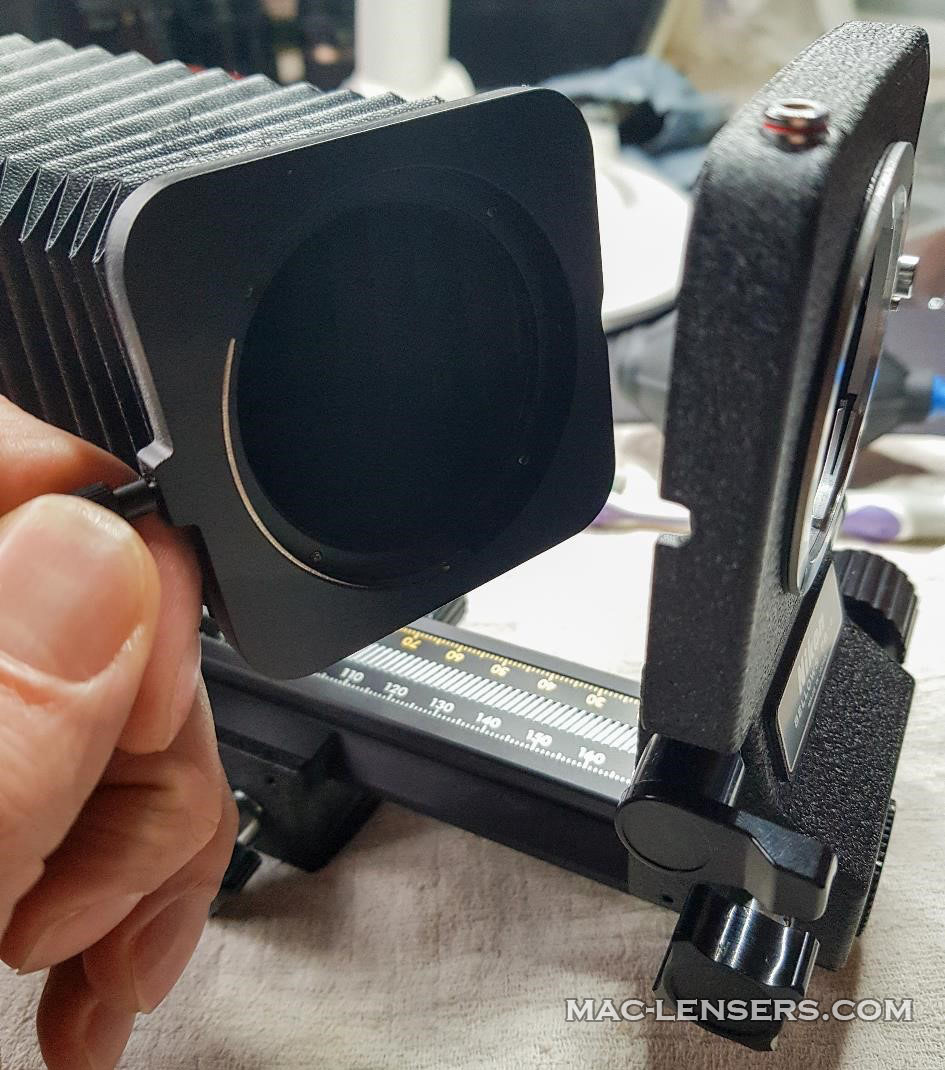
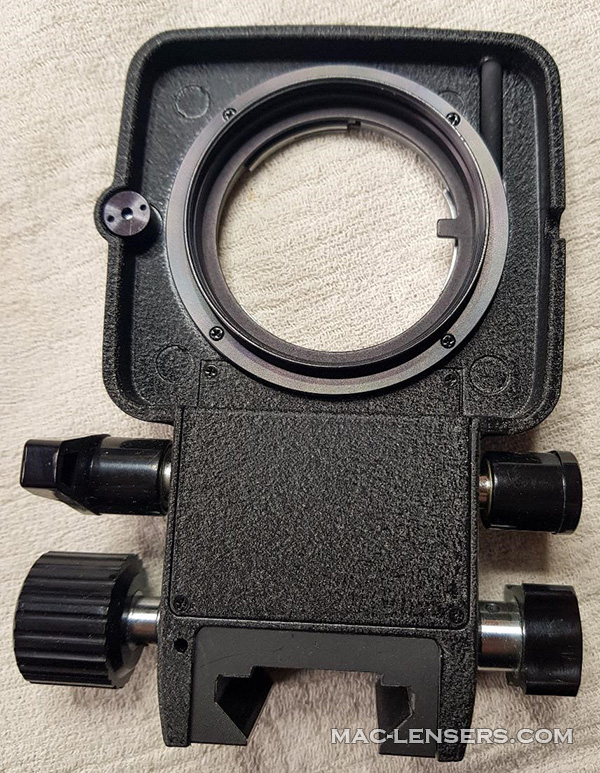
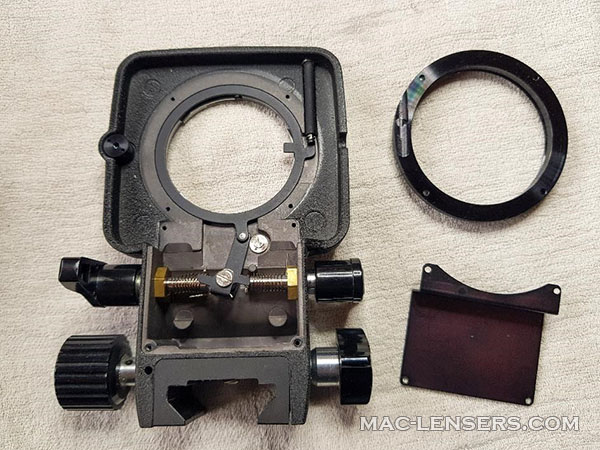
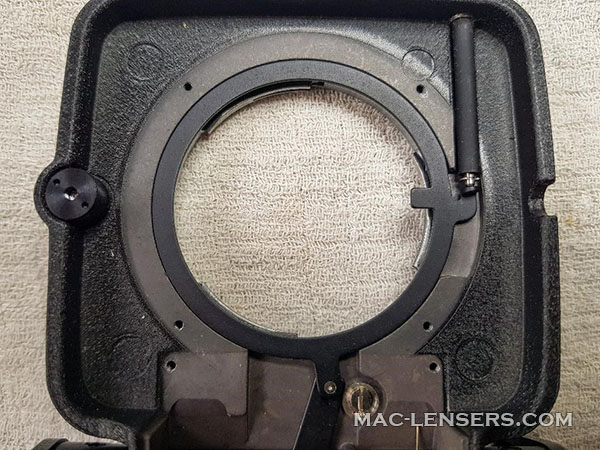
Here is the part that interests us once removed from the rail.
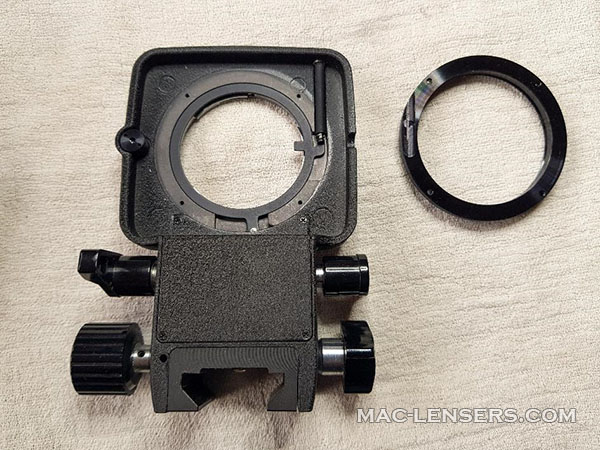
The first part to remove is the bayonet ring fixed by 4 screws. To do this, I used a JIS +00 type screwdriver.
We can see the part used to close the diaphragm when the joysticks are activated or when a manual shutter is used.
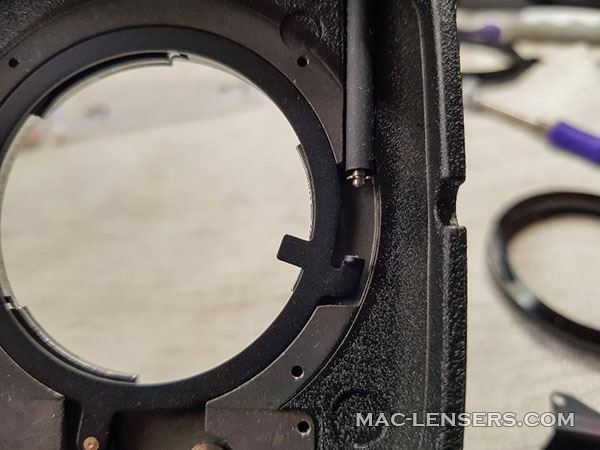
As you can see, it comes down on its own, instead of staying in the up position.
Then, just unscrew the bottom cover to access the problem mechanism.
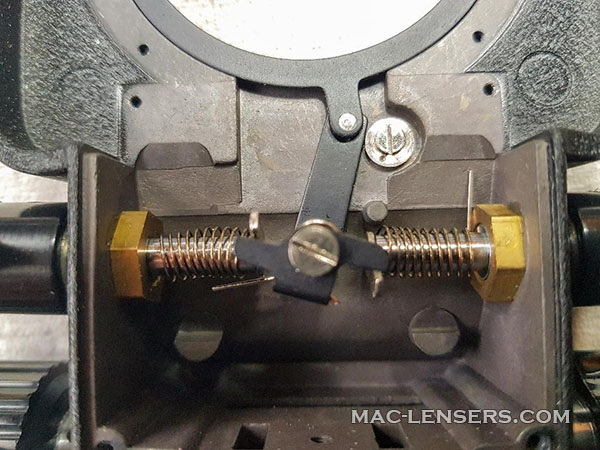
The problem is actually trivial: the spring leg has jumped and prevents it from applying pressure to the closing mechanism.
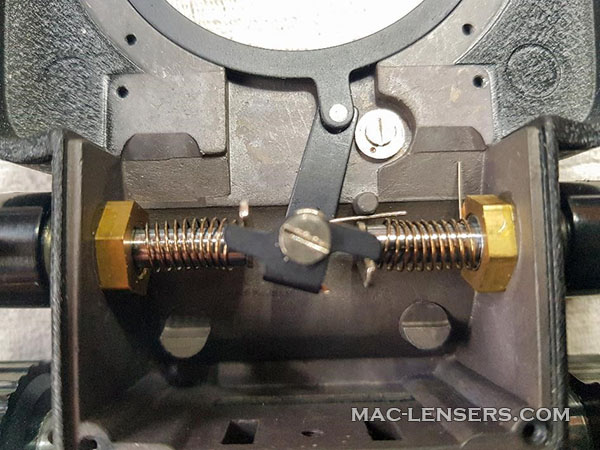
Simply put it back in place by wedging it under the stopper at the top right using a small pair of pliers.
The mechanism now returns to the up position on its own, which makes it possible to close the diaphragm.
Once done, simply reassemble the elements in the reverse order of disassembly.