Repairs
Por Pete-motitas


Introduction
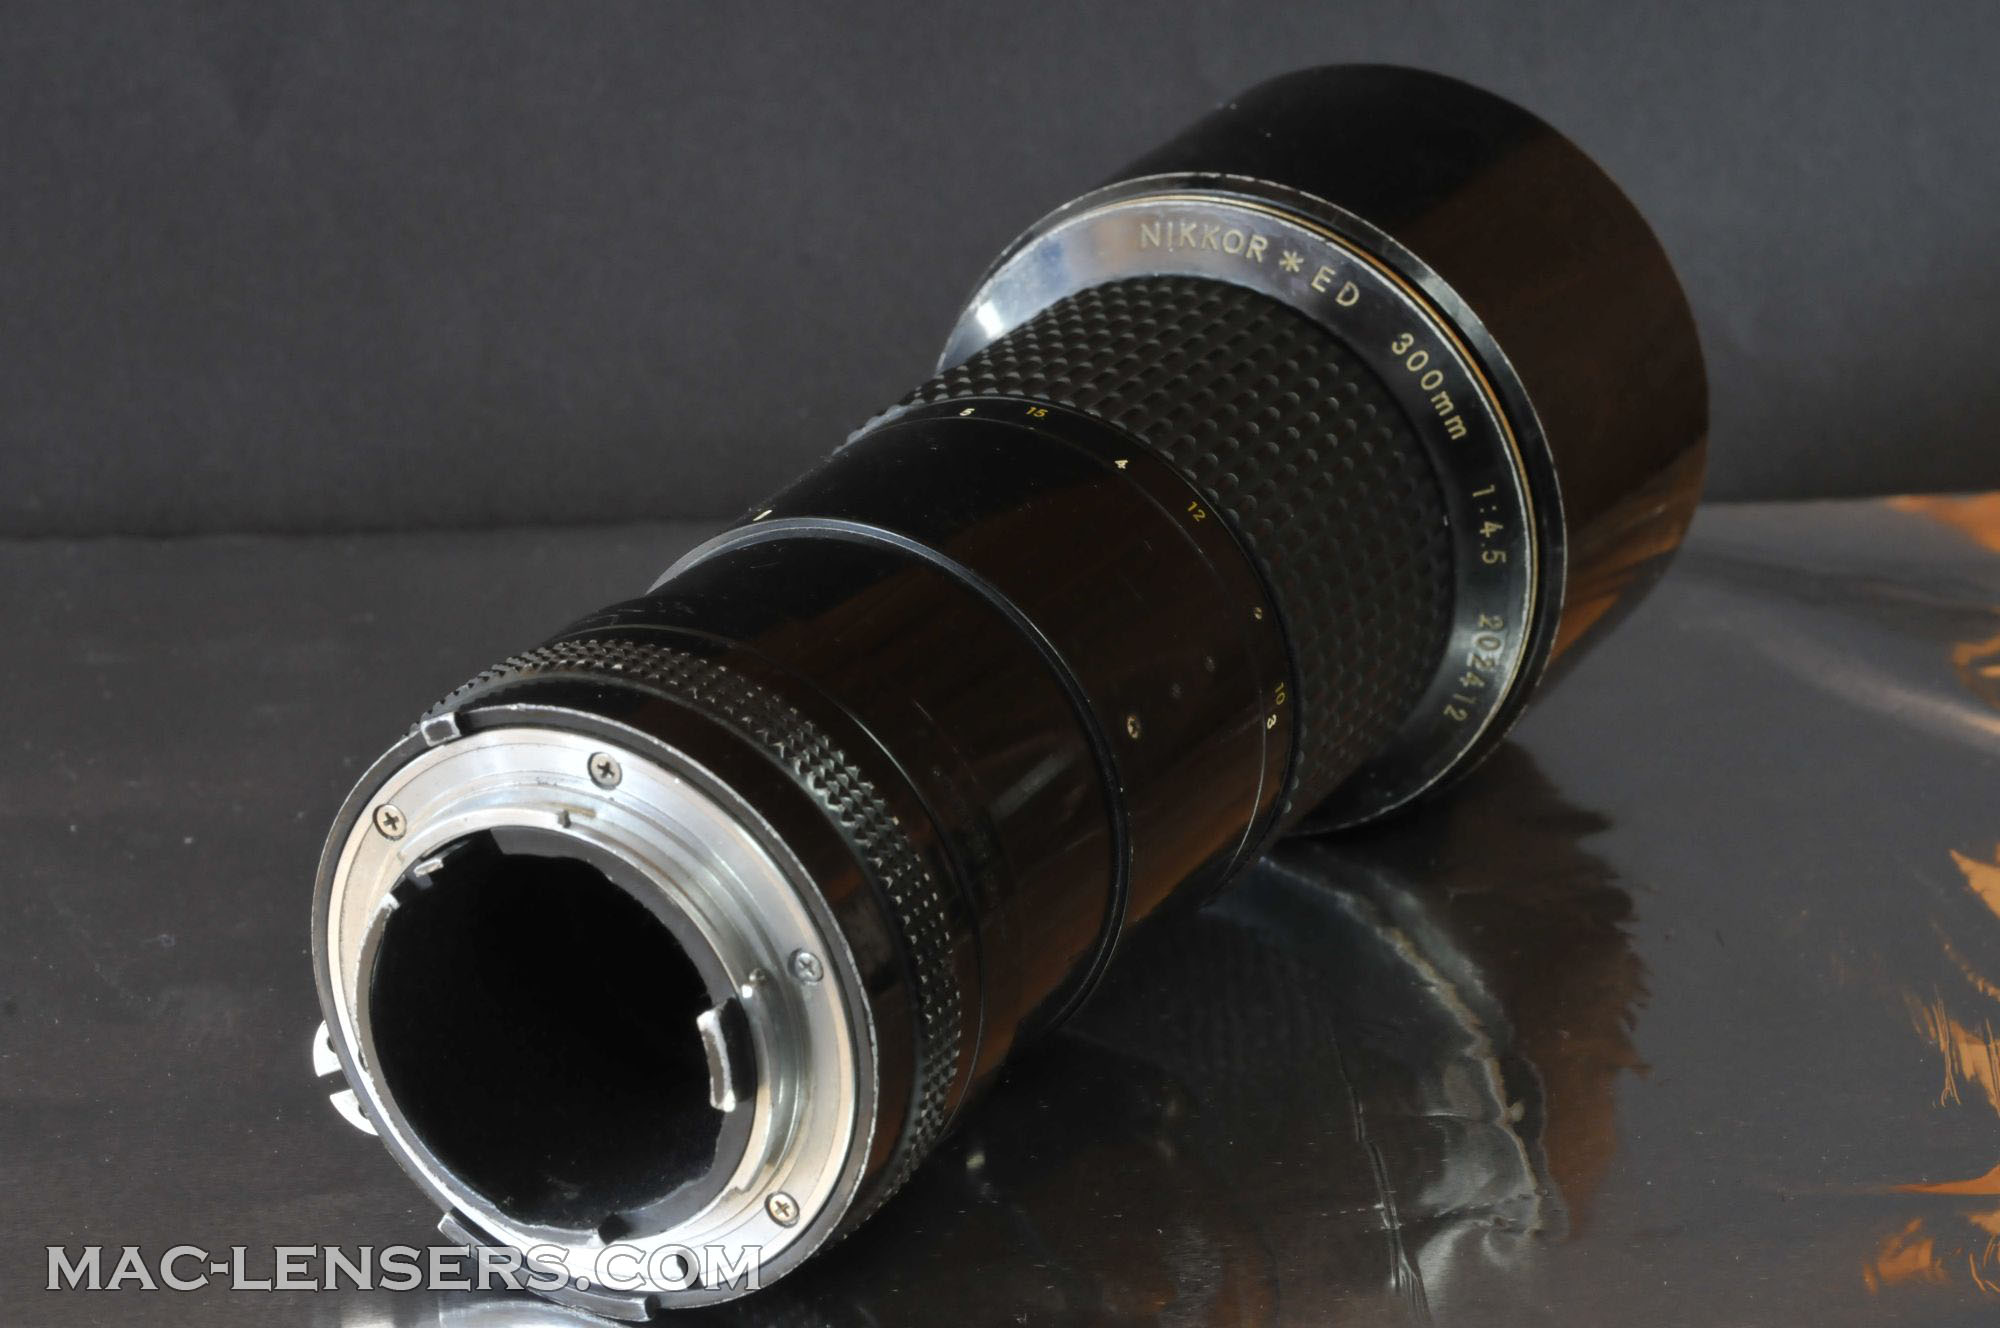
Today we are going to clean a fabulous lens: the Nikkor 300mm f/4.5 Ai ED IF; a rather uncommon lens as only 8000 copies were produced between 1978-1981.
I found one cheap; not in perfect cosmetic condition, without the caps (original front cap is the 72n in metal, also a hard find these days at a reasonable price), no tripod collar, and above all, full of fungi and dust.
Good thing, the lenses were intact with no scratches or coating issues.
Technical characteristics
The optical prescription is made up of 7 elements, with one ED glass element, divided into 6 groups. ED stands for Extralow Dispersion, which minimizes chromatic aberrations.
Diaphragm has 7 blades.
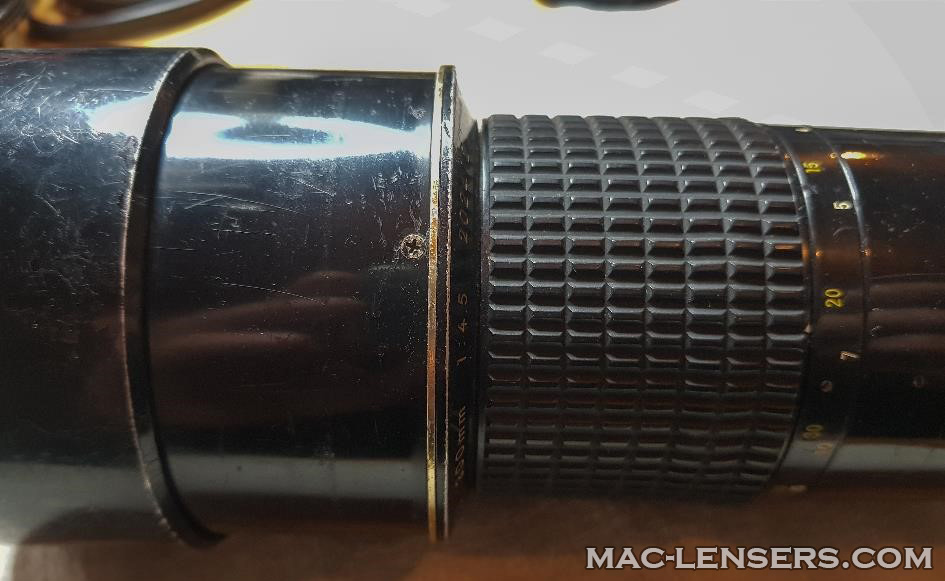
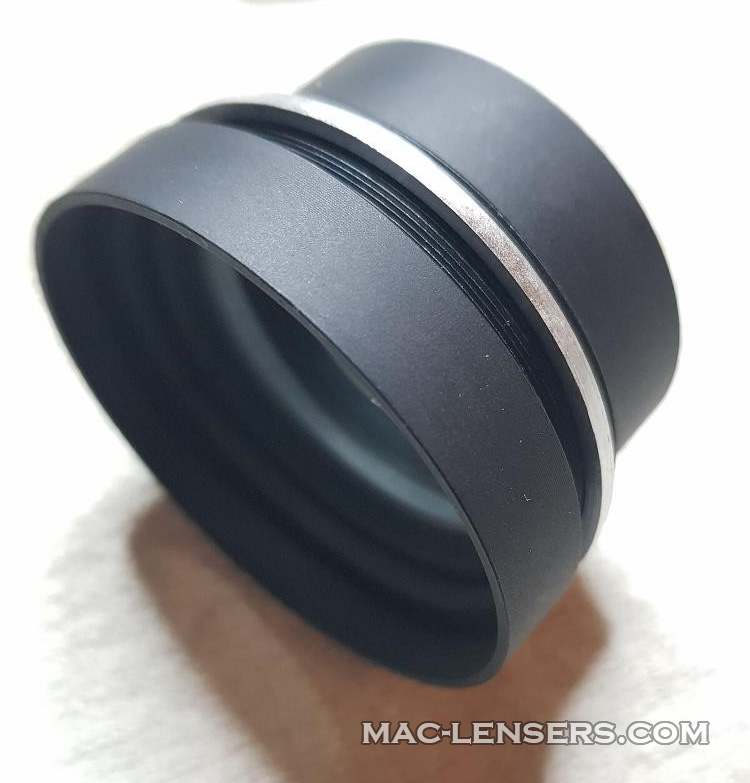
The filter thread is 72 mm, and a retractable hood is integrated into the barrel.
Repair
First of all, this repair will not require dealing with the back. Indeed, this lens has no optical element behind the diaphragm, which is already relatively far from the bayonnet.
The first step is the removal of the hood. To do this, you must remove the three screws holding it, using a JIS +00 type screwdriver.
If you can not easily turn the screw, put a drop of isopropyl alcohol. It softens the glue that was used during assembly. If this is not enough, use a solvent like nail polish remover instead, let it act for a few minutes. The screw should then no longer be a problem. The thing you absolutely need to avoid is to stripping the screw head, if that happens, the repair is pretty much over !
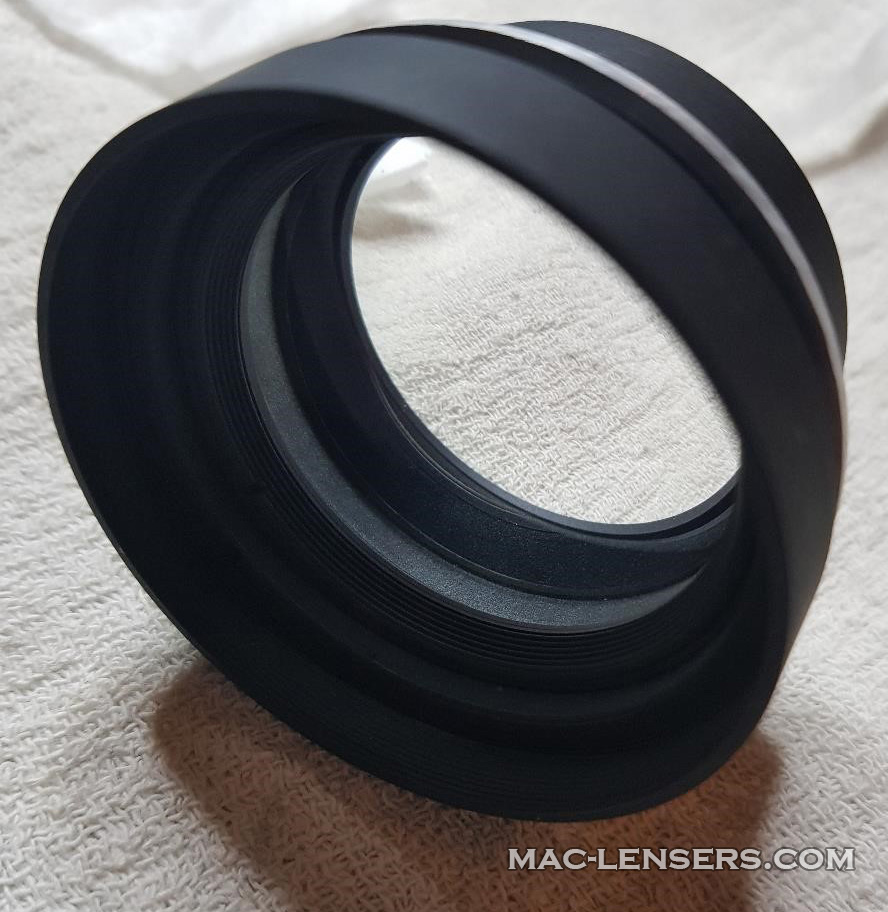
Once the screws are removed, pull the hood to remove it. As for mine, it was resisting a bit, so I had to twisted it to get it out.
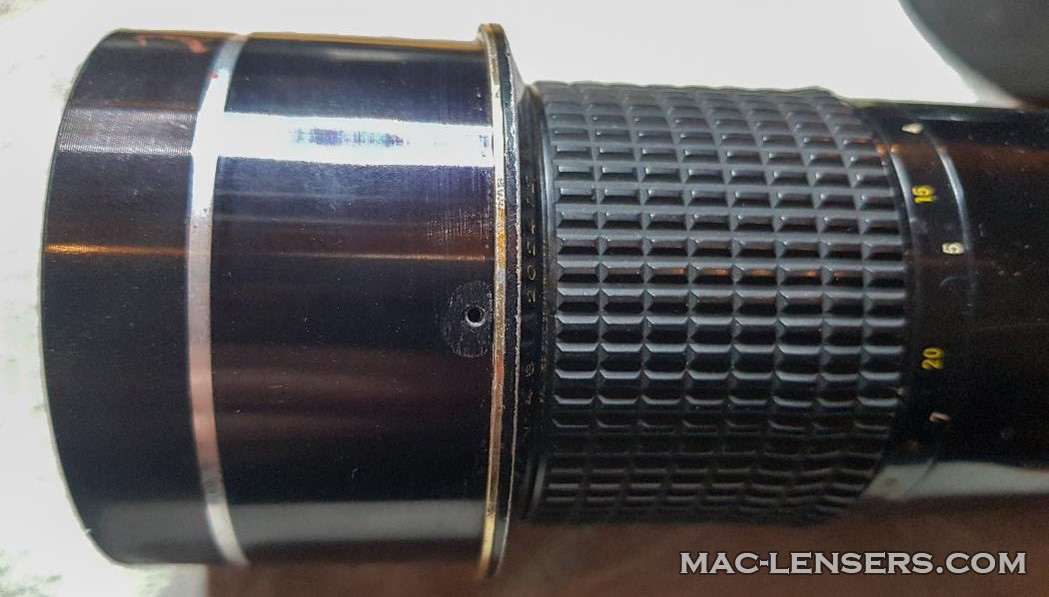
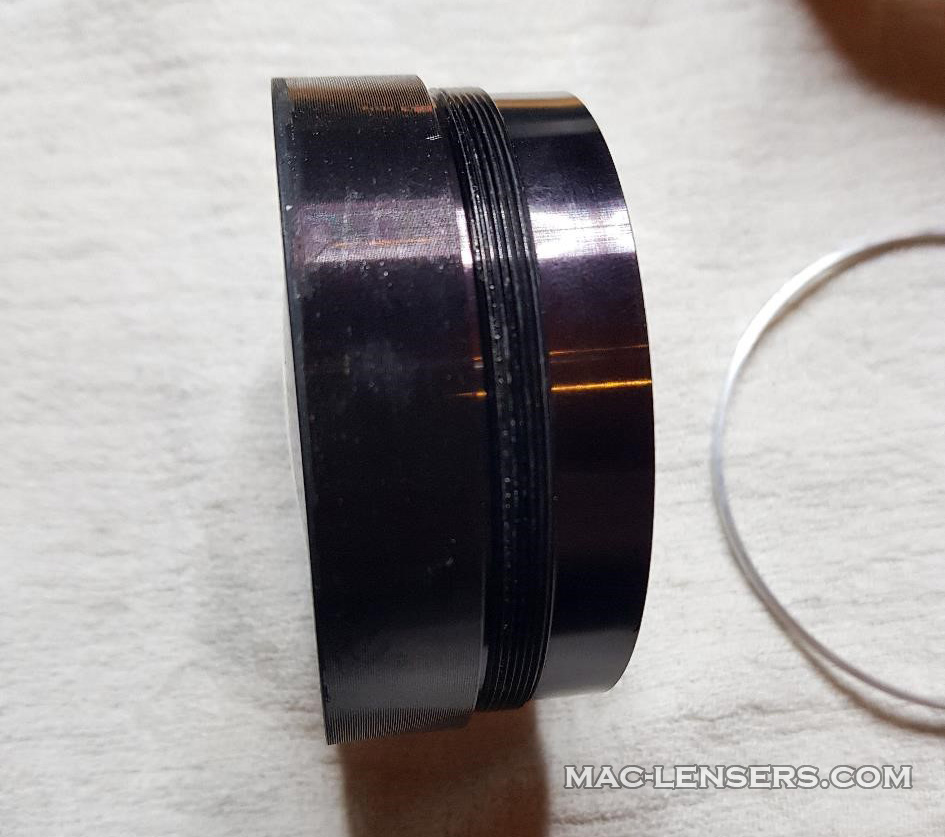
We therefore see the front optical group screwed to the barrel, but with a metal ring.
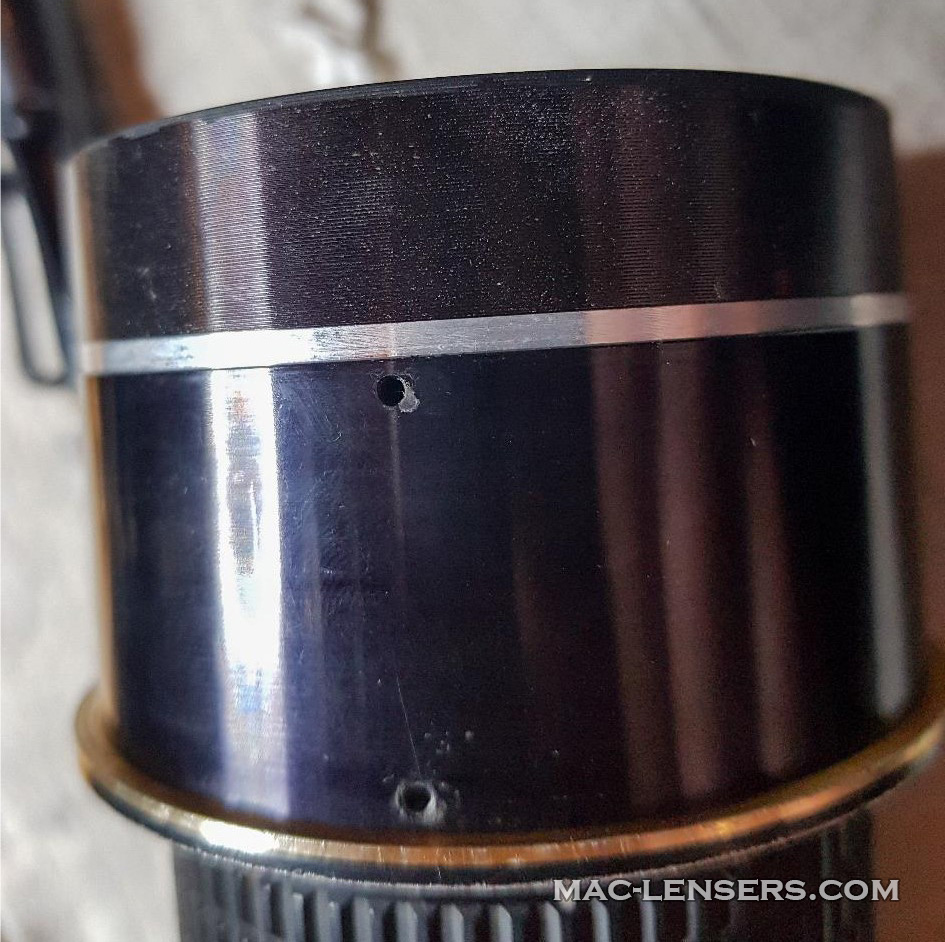
The group is certainly glued and only very difficult to unscrew by hand. This is why you should not hesitate to put a few drops of isopropyl alcohol in the hole of the group, what will allow it to spread on the thread.
Warning ! : read the next steps before applying glue, and come back here later.
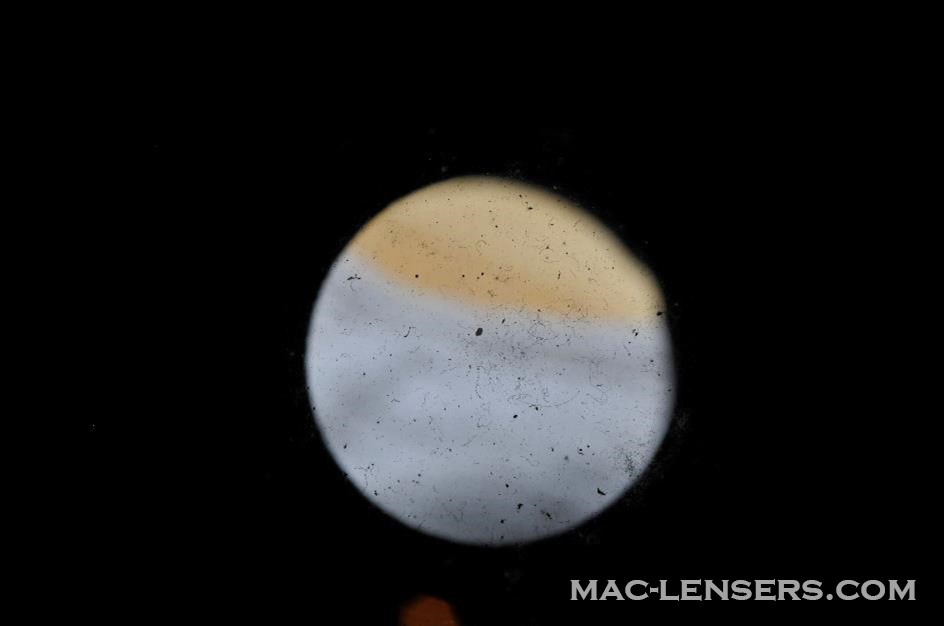
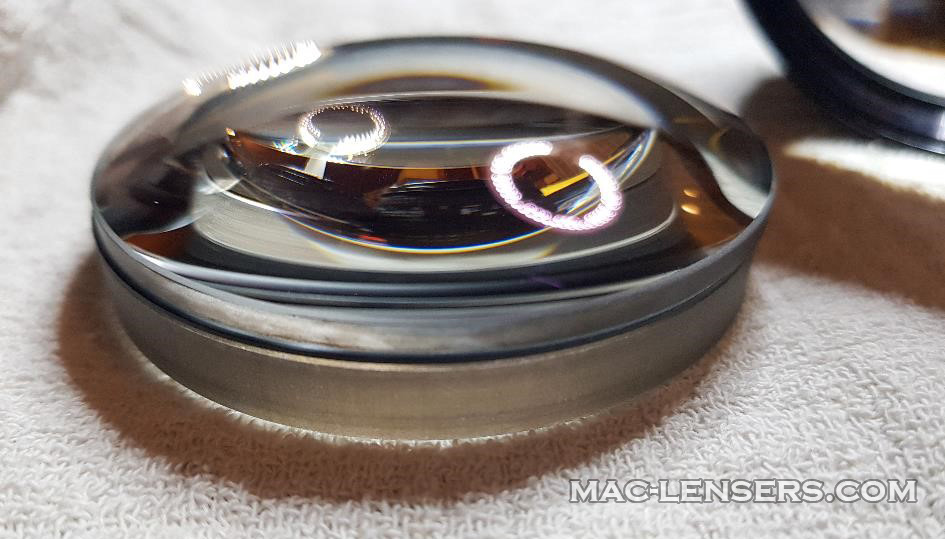
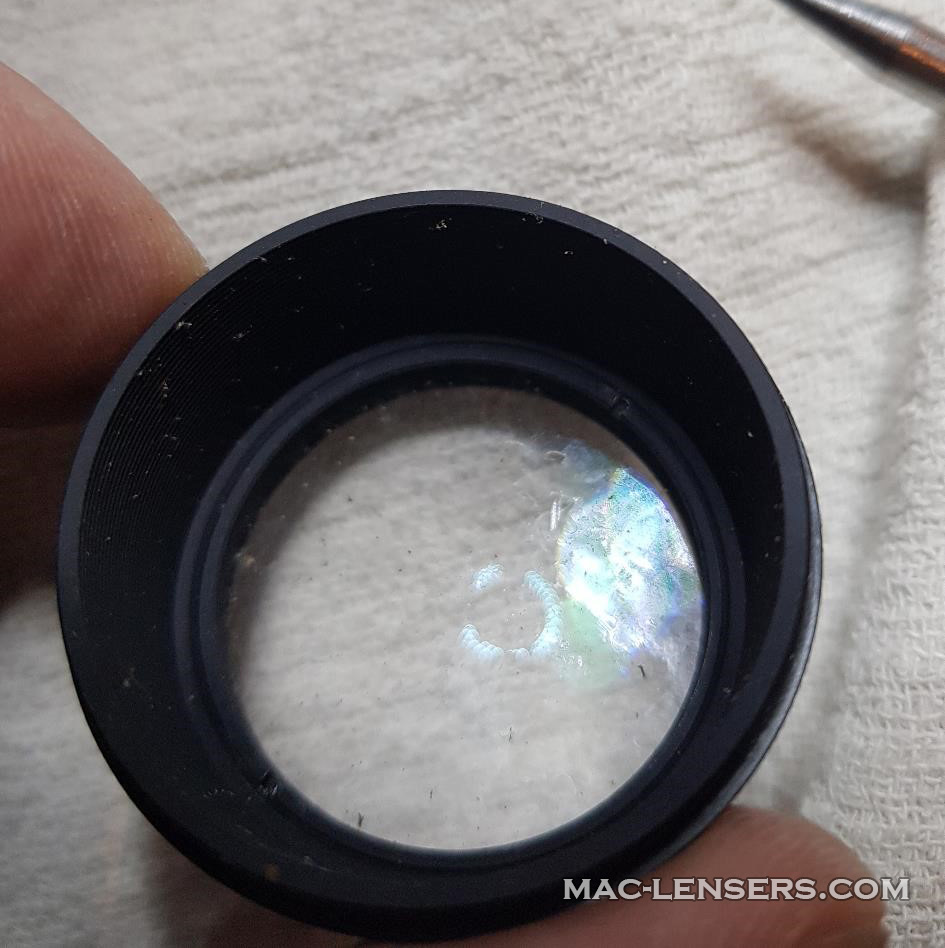
So we see the frontal group that contains 2 lenses.
Fungus is clearly visible and we will have to remove at least one of the two lenses to be able to clean them.
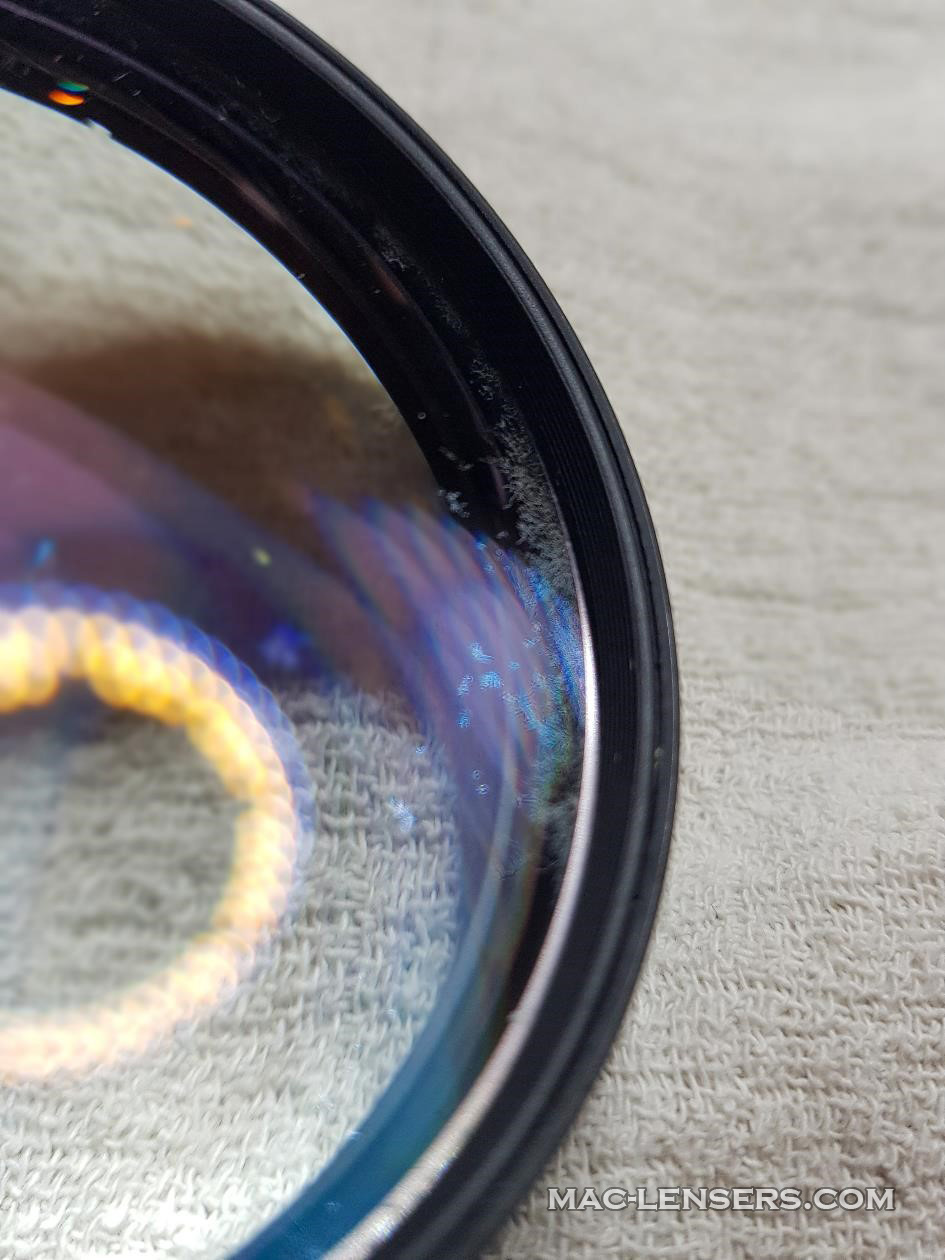
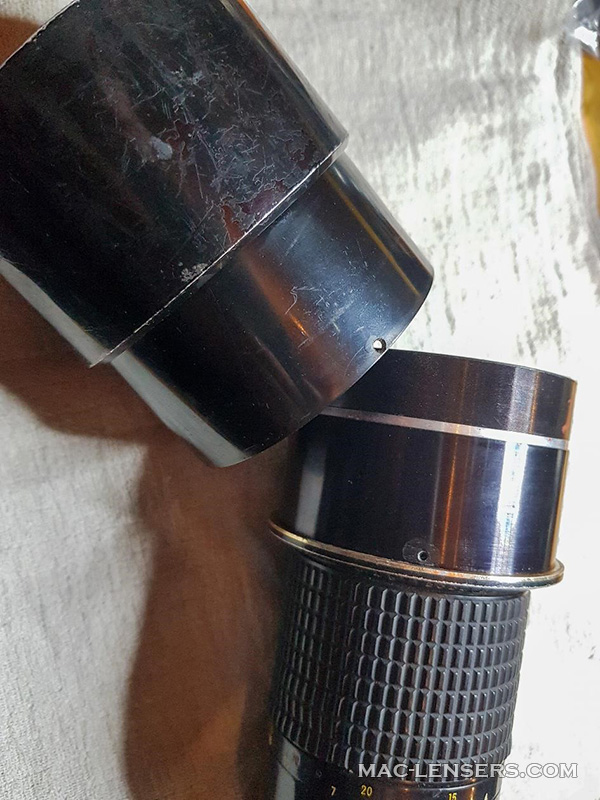
To be able to separate them, you'll need a spanner key or a mason compass. You may need to soften the glue with a some isopropyl alcohol or solvent. Once the group is removed, you can go through the back.
Tip: if you prefer to remove the front ring, it is best to do so before removing the front group from the barrel, as this provides a better grip. As far as I am concerned, I had already removed this group and contented myself with removing the rear ring.
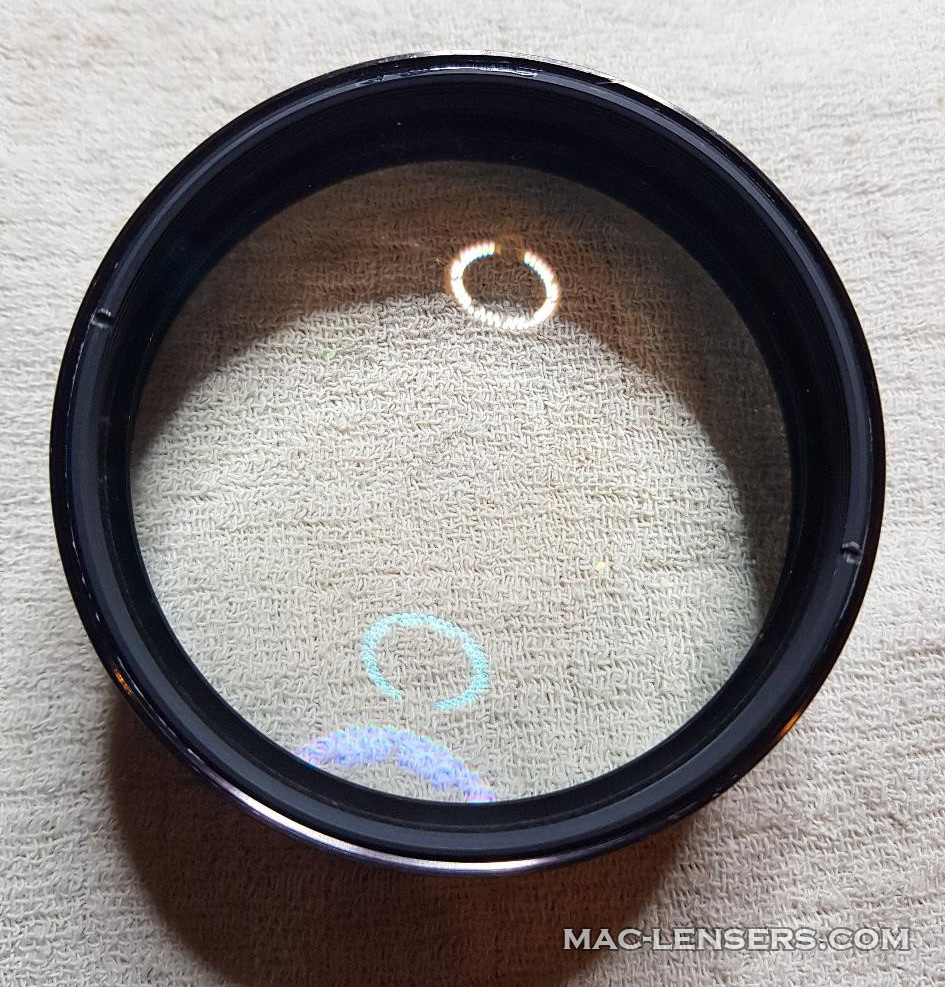
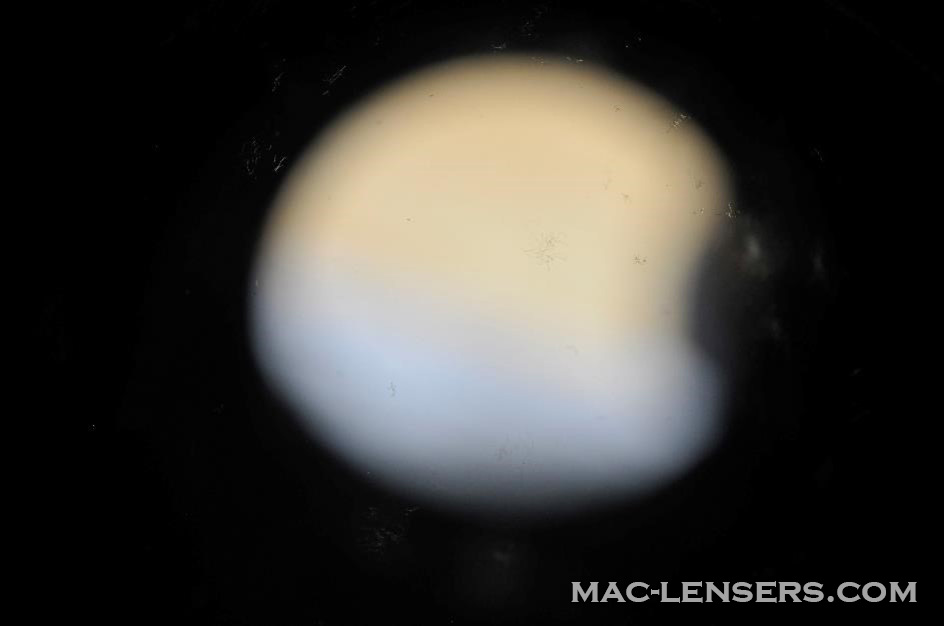
Here is the back of the front group.
Once the rear ring is removed, the rather large rear lens of the group comes out easily.
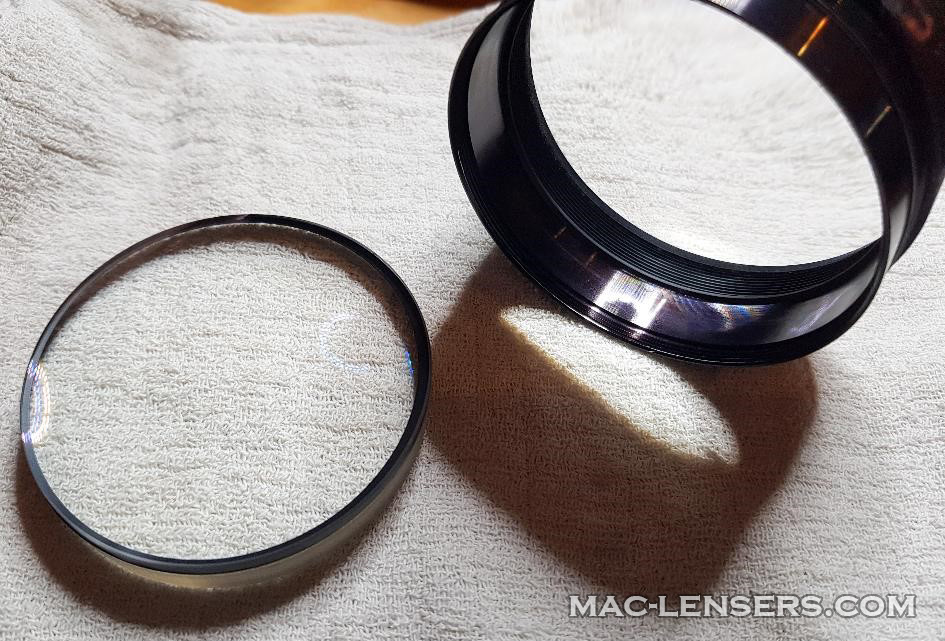
The front lens also comes out. Luckily these two lenses are not crimped. This allows them to be cleaned without any problem.
The lens was so infested that fungus was present all over the barrel.
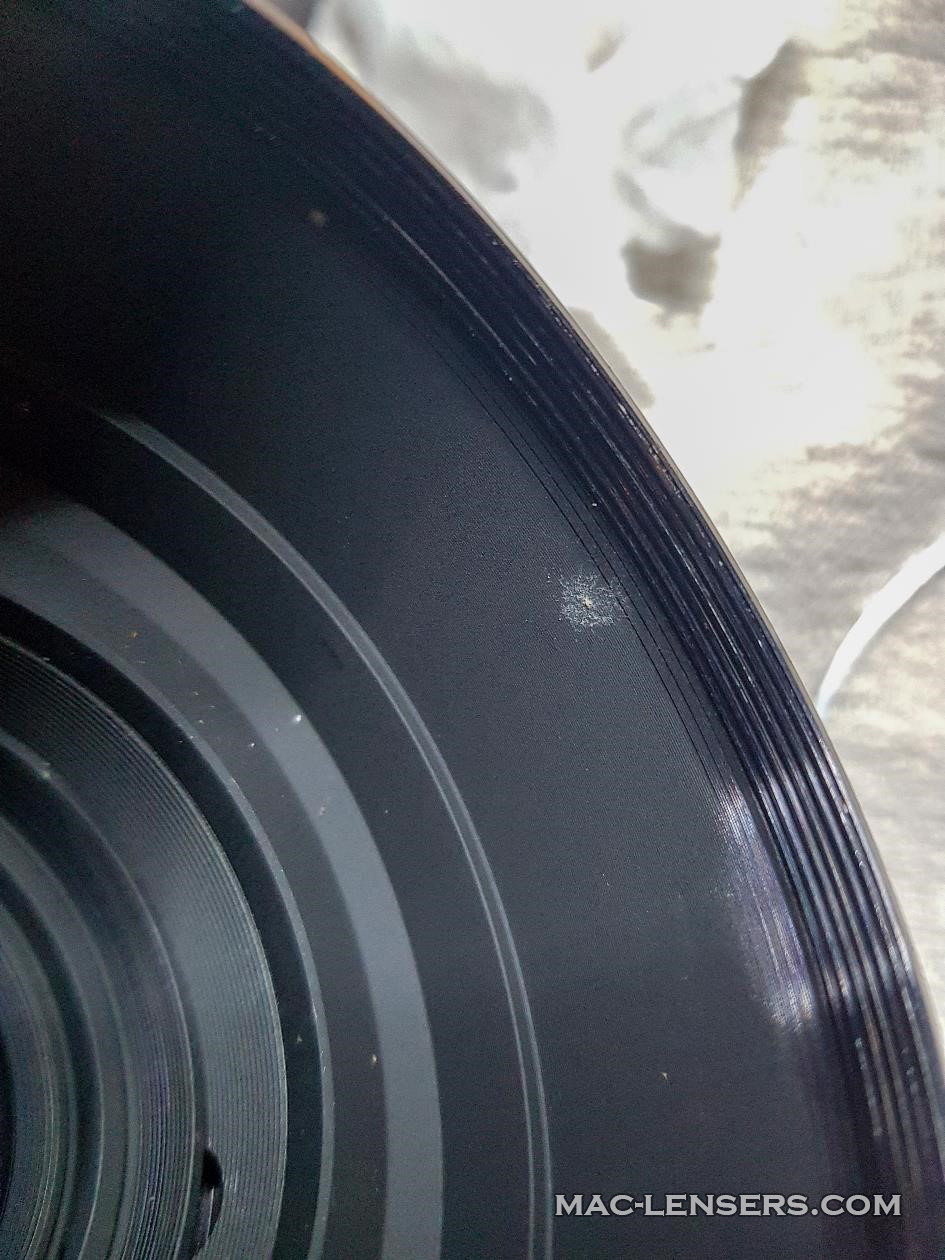
Luckily, with just some white vinegar and a swipe with a cloth, they were gone.
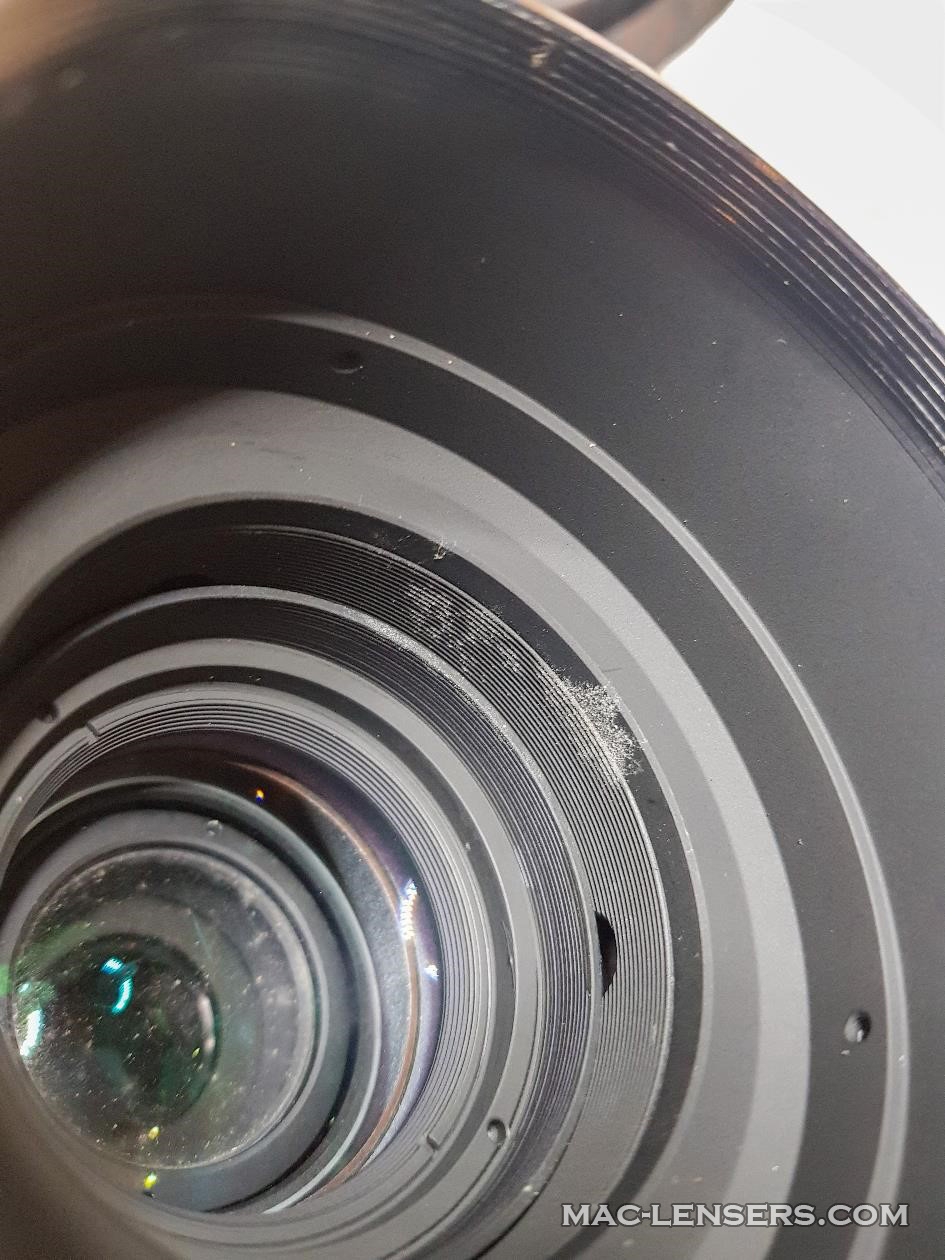
The last group was quite difficult for me to remove, because it is installed quite deep, and especially the width of the barrel being minimal. So it was difficult for my spanner getting into it.
If you have a mason's compass, you should be able to remove it with no problem.
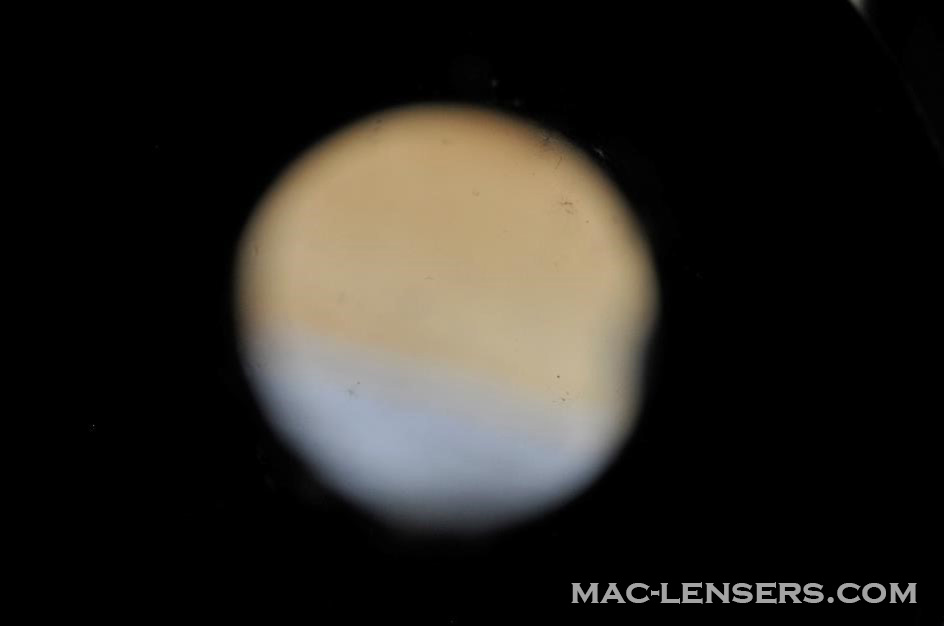
Once the group has been removed, it can be unscrewed to clean the two lenses constituting it.
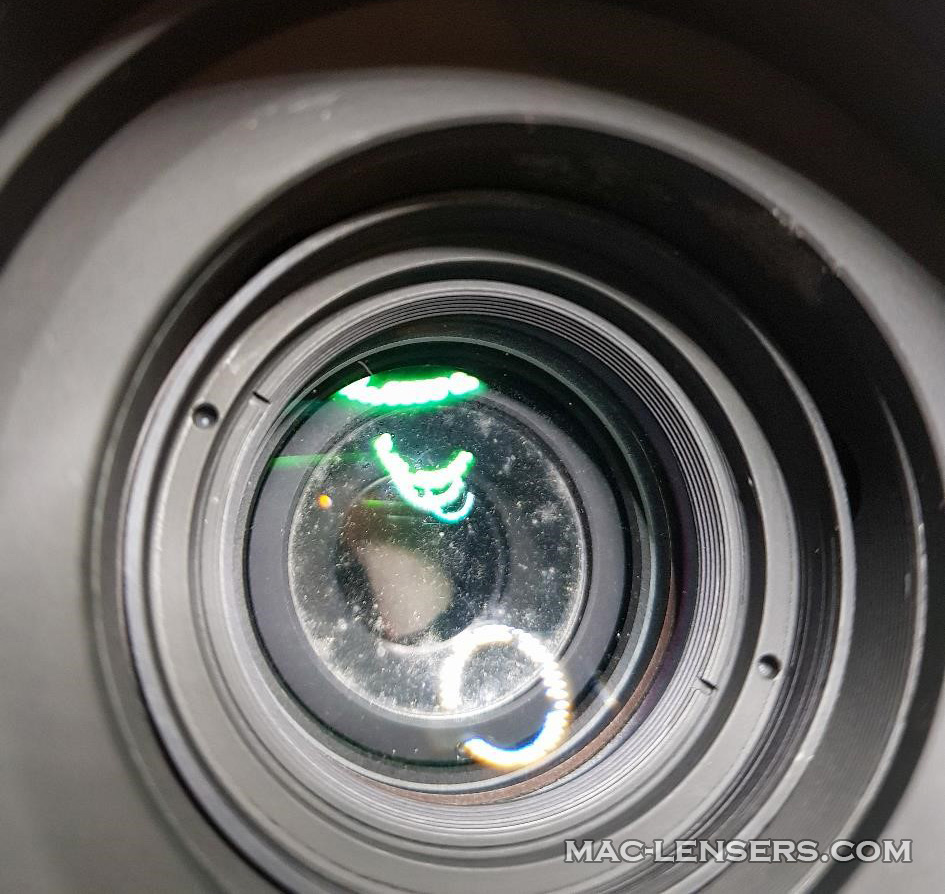
Once unscrewed, just clean the two lenses.
You can see all the dust inside. Simply clean them, then reassemble the lens by repeating the steps in reverse order.