Repairs
Por Pete-motitas
Français
 Français
Actualizado el 18/05/2022 a las 18:35.
Good evening,
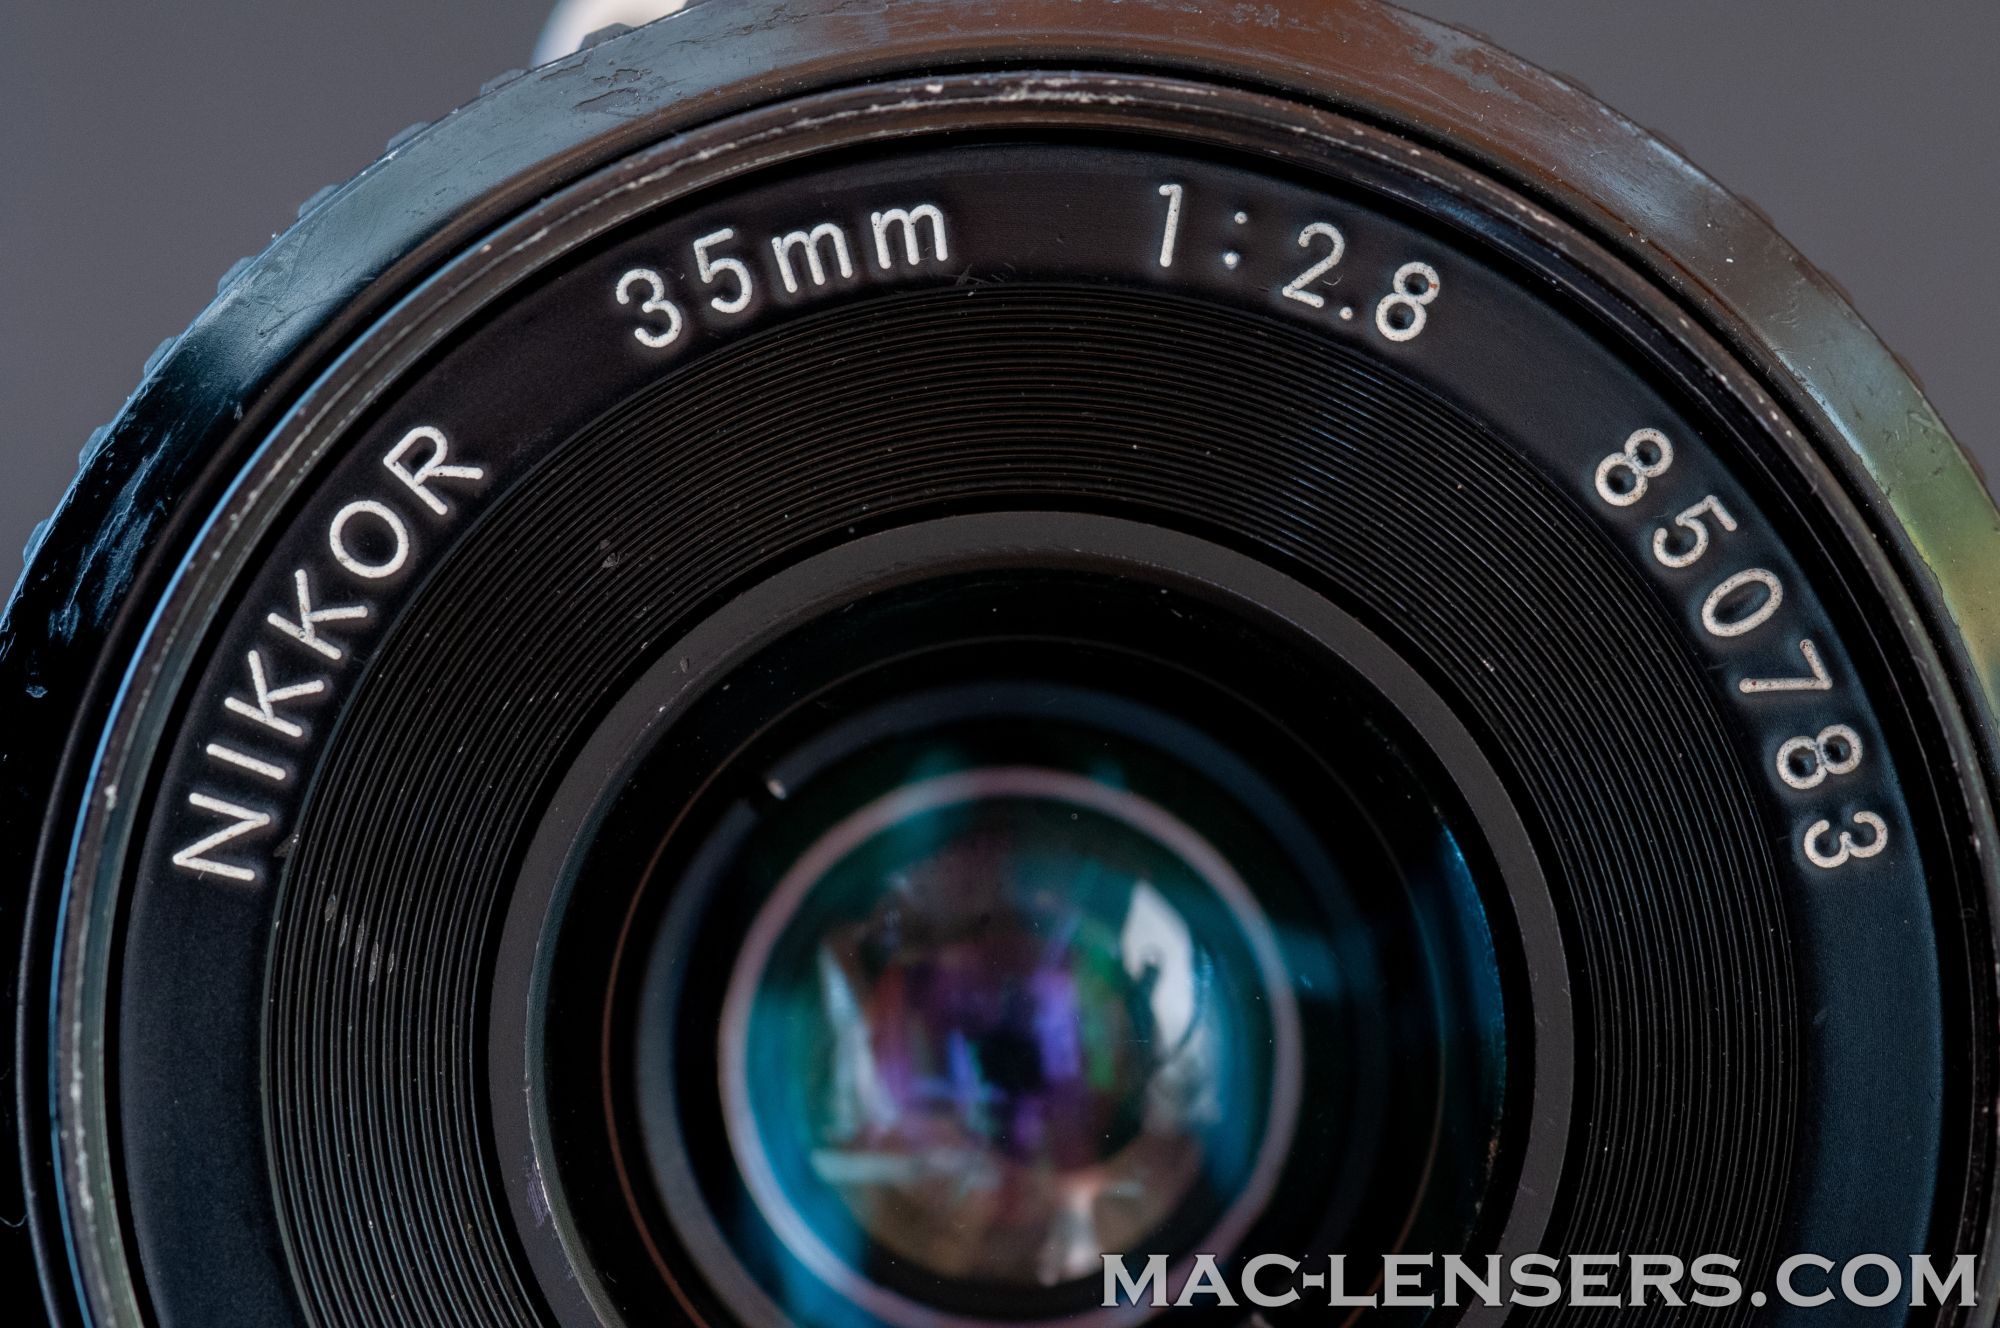
Today we are going to talk about a rather underrated small lens : the Nikkor 35mm f/2.8 Ai.
It is quite easy to find and for a very reasonable price. You can find it easily below 100€, unlike the very famous f/2.
The 35mm f/2.8 lens is a great classic from Nikon. It was declined in several versions, without interruption, from 1959 to 1989.
Optical Recipe
The version we are going to see today is the designated "NEW" from 1975, that succeeds the Nikkor-S Auto. It is composed of 6 elements divided into 6 groups. First created in the K version, the same recipe has been reused in this Ai version.

Maintenance
To clean this lens, I proceeded in two steps : first the entire front block and then the rear one. You can do in any order you want.
Let's start from the rear. As you can see in this photo, a fungus has started to grow between the lenses.

The framing is a little tight but you have to use a spanner to be able to remove the whole rear block. Or if you are lucky as I am, you can do it by unscrewing by hand.

Once this block is removed, you can see a hole on the washer holding the rear lens. In this hole, you can put a few drops of isopropyl alcohol or nail polish remover to be able to soften the glue on the thread, to be able to unscrew the whole thing.
If you still can't unscrew, let it act for a few minutes and add a few drops again if necessary.

Once the washer is unscrewed, you can remove the lens to clean its both surfaces.

We can clearly see the fungus on this one. To remove them, a little isopropyl alcohol mixed with hydrogen peroxide, or alcohol vinegar, should be enough.

For the other part, the help of the spanner will be essential to remove the washer and access the lens.

Once unscrewed, you can access the last two lenses of this block.

We just have to clean them and then we can reassemble and replace the block to clean the front part of the lens.

Once the rear part is reassembled, we can proceed with the front part. First, we need a rubber cone to be able to unscrew the front ring.

This gives us access to the block containing the 3 lenses, that can be removed with a spanner, or mason's compass.

Once removed, we can easily see the parts that will be unscrewed.

First, we start by introducing a few drops of isopropyl alcohol or nail polish remover to be able to easily unscrew the rear part, after a few minutes.

Before working on this rear ring, we will unscrew the front part of the block. Once done, it is possible to remove the lens from its support thanks to the ring located at the back of it. To do this, it is imperative to soften the glue that we can see in this photo.

The ring is now removed, the lens is accessible and ready to be cleaned.

Let's go back to the rear. The glue having softened, we can now easily unscrew the ring by hand.

The lens can be removed simply by pulling on it, even more easily with a small suction cup.

On the other side we access the last lens, unscrewing a new ring using the spanner.

It must also be taken out using a suction cup and cleaned.
Voila ! To reassemble everything, simply repeat the previous steps in the opposite direction. Be careful to the position of the lenses (if one is upside down, you will be good to start again).
Enjoy this excellent lens, ideal for street photography and more.